Singing Hammers: Blacksmithing at Colonial Williamsburg
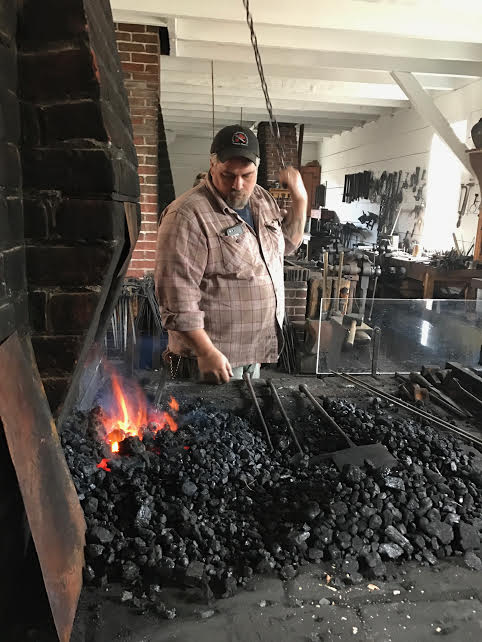
White smoke billowed from the Anderson Forge and Public Armory’s chimney, rolling upwards and swirling into the wind. My anticipation built with each puff of smoke. As I entered the Armory I was struck by the cleanliness of the shop. I was expecting a sooty, blackened space where you wouldn’t want to brush up against anything least you too became sooty. While I wouldn’t apply the five-second rule in the shop, its floors were generously swept and the walls were still a bright white from a recent repainting. It’s easy to conceptualize Colonial Williamsburg’s trade shops as theatrical spaces, but in reality the shops are operational workspaces; they are spaces of production and creation.
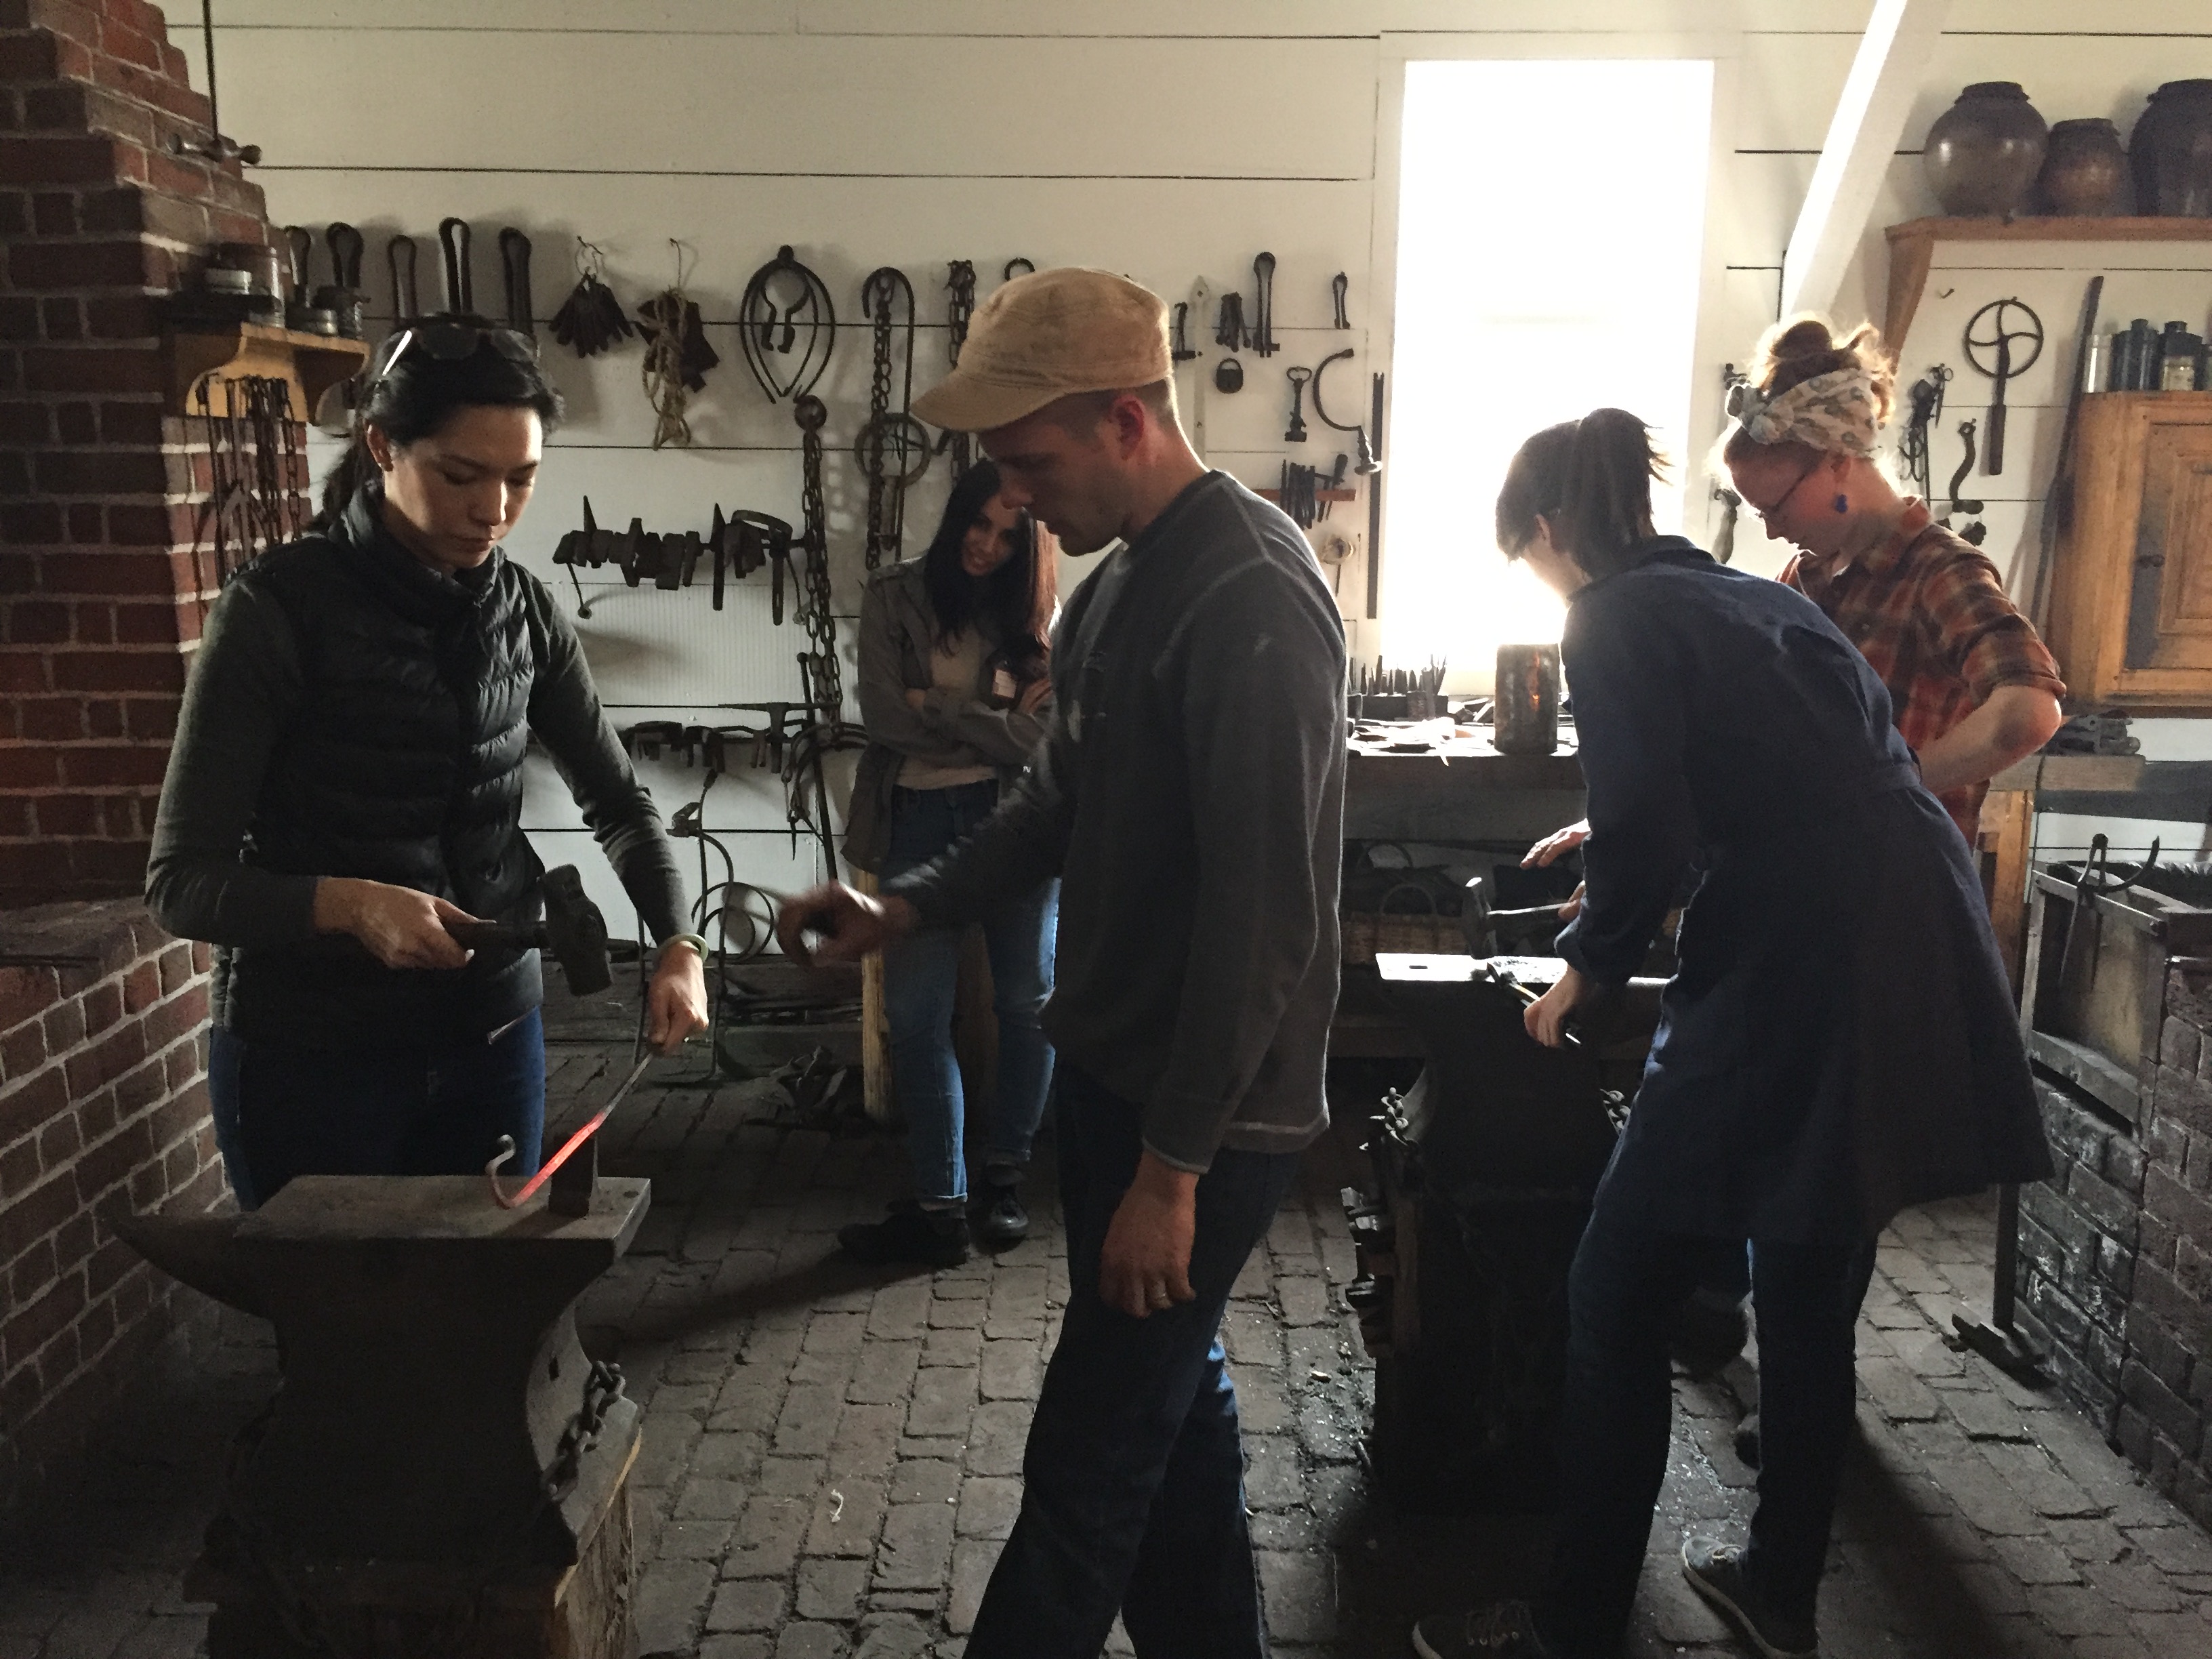
The class circled around the forge and with the heat of the coals on our faces we watched journeyman blacksmith Mark demonstrate how to make an S hook, the object we would all have the opportunity to create. From start to finish it took Mark about five minutes to turn the bar of wrought iron into a gracefully twisted and curved hook. Note that this was Mark’s demonstration speed, that he had slowed the process in order to articulate the steps for us. His experienced hand made the process look easy and his encouraging demeanor gave the impression that I too could craft an S hook. With this instilled confidence I selected a hammer and took my place beside a forge.
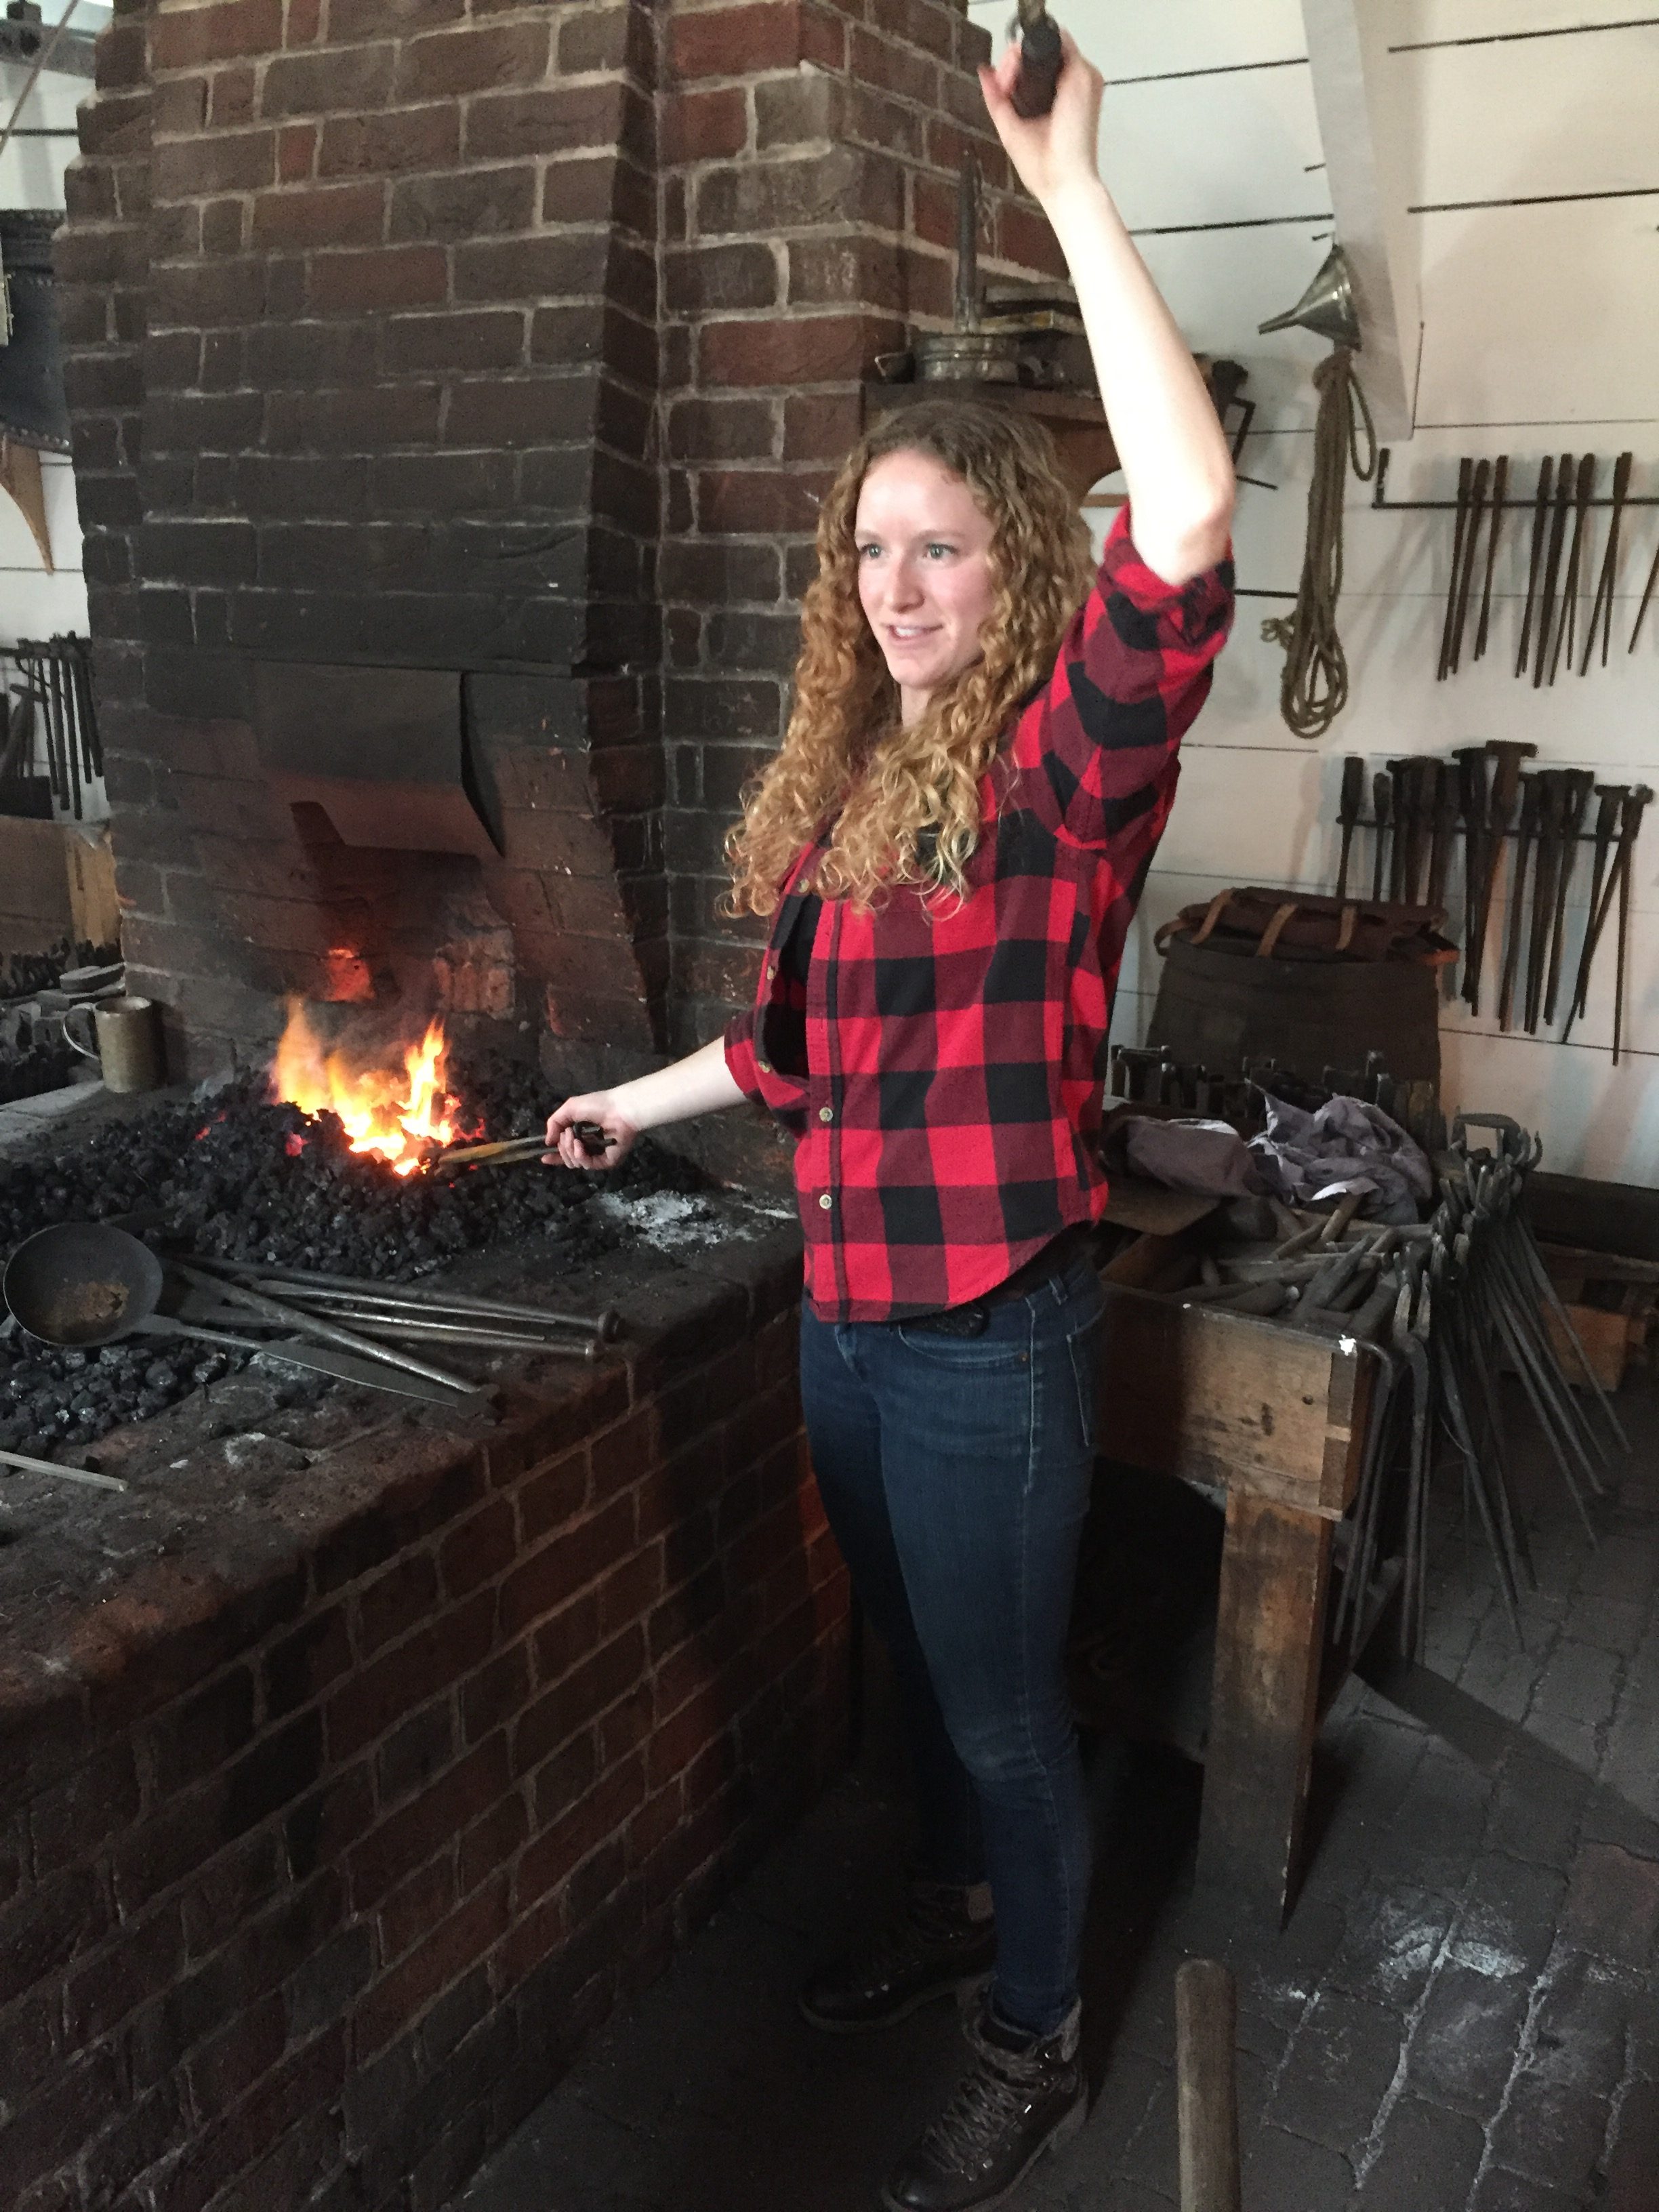
The first thing I learned was that I needed a different hammer. I had selected a sledge hammer, sometimes called an engineer’s hammer, when I needed a cross-peened hammer with a smaller striking face appropriate for more precise work. Aislinn, the blacksmith guiding me through my S hook, then introduced me to my workspace and the protocols of the forge. The first lesson was that the hammer always stays on the anvil so that you always know where to find it. Second, all hot material not being worked goes in front of the anvil, hot side down. Third, much like the triangle workspace of a kitchen, a blacksmith moves between the forge and the anvil and the water trough. While many of these rules are related to safety, they are also representative of workflow. By adhering to the same overarching rules and patterns blacksmiths are able to create a rhythm to their work. With these principles in mind I pumped my bellows and began heating my iron rod.
Aislinn explained the color progression iron followed as it was heated, from red to orange to yellow to white—at which point it would start sparking since the metal was burning. For our work we needed the iron to be a rich yellow color so that the metal would, according to Aislinn, “work like clay.” So I pumped the bellows and checked my bar until it glowed yellow. Then came the first steps in forging an S hook. In its current state the bar was rectangular. I needed to flatten the end and curl it into a spiral. To accomplish this I need to hammer the end of the bar at a 90 degree angle while rotating the bar 90 degrees after each blow of the hammer. The first strike was a bit jarring. You have no idea what to expect, you don’t know how hard to hit the metal, and you’re not sure of your aim. Plus, in your non-dominant hand you are desperately squeezing the tongs that are holding this yellow-hot bar of iron. All put together, this made the first ten to fifteen strikes an awkward assemblage of learning moments where you get a feel for the tools you are using and the material you are working. These first blows of the hammer were met with a chorus of “Hit it harder!” and “Really whack it!” from the blacksmiths who were guiding us. As my class mates and I found our rhythm, and our strength, we could see the metal tapering out.
Perhaps one of the more unexpected things I learned from this first stage was that the anvil was not just a surface on which you worked hot metal, but rather another tool of the trade. By rotating and angling the bar against the anvil you could use the pressure of anvil to flatten and straighten the rod without applying additional weight to your hammer blow.
Once the end of the bar was worked into a thin taper, the next step was to curl it into a tight spiral. Again, once the rod is yellow-hot, you extend a portion of it over the end of the anvil and with a few heavy hits you force the end to curve. Then you flip the rod over so that the curve is aimed towards you and work the curve into a tight spiral hammering from the tip and slowly moving backwards. Once the spiral was complete, the first S curve of the hook was shaped by curling the rod around the horn of the anvil. For me, this step, was initially the hardest to grasp because I couldn’t hold the bar stationary on the horn. Each blow of my hammer jostled the rod causing it to slip around the horn. Aislinn instructed me to steady my arm against my hip in order to maintain control. Blacksmiths are famous for their arm strength, but the process of forging metal truly necessitates the use of your whole body, hips and all.
You then repeat the process to form the other half of the S hook—except now that you have finally gotten used to one set of tongs you have to switch to a different pair because you have a spiral where there used to be straight metal. When I first entered the shop I thought the multitude of tools was due to the number of individuals in the shop, but now I knew that the number of tools reflected the multitude of different objects crafted in the shop. The final step in the process was to turn the middle section into a decorative spiral. To accomplish this 2/3 of the hook has to be placed in the forge, heating both an S curve and the middle shaft. Once yellow-hot, the hook is removed and the S curve portion dipped in water to protect the venerable curve. The unheated curve was then clamped in a vice and with a pair of pliers you quickly twist the piece before the metal cools. One of the best tools of the trade was unexpectedly water. I though water was for safety and for cooling the object once it was totally finished. Instead we used water regularly throughout the process to protect finished areas of work. For example, the tight spiral at the end of the hook was cooled in water to protect this work from the additional hammering involved in forming the S curve.
Forging an S hook at the blacksmith shop was an incredibly enlightening experience. With hammer in hand I was able work the iron and feel its malleability. I understood Aislinn’s comparison to clay with respect to the ductility of metal. Working in the shop also gave me a new respect and appreciation for all of the spectacular iron work at Winterthur. An S hook could be made in a fraction of the time if the spirals and twist were removed from the process. These features are aesthetic not functional to the piece. But they detail the craftsmanship and artistry of the blacksmith to turn the mundane into the beautiful.
By Allie Ward, WPAMC Class of 2017
.
For many years, the Department of Historic Trades at Colonial Williamsburg has generously hosted Winterthur students as part of a course in pre-industrial craftsmanship. Over the course of several days, we students work closely with the tradespeople, trying our hands at a wide range of eighteenth century occupations that bring our studies, quite literally, to life. Every year, we leave with a deeper understanding of the material world. This post is part of a series that chronicles our visit in March, 2017.


Leave a Reply