
Electronics! Putting It All Together
In deciding what components to use for the control system, we knew that we wanted to consolidate everything. Here is a list of components that we obtained:
– Boards
- SainSmart Mega ADK (Any other brand of microcontroller board should work, this board in particular was chosen because there are many more ports and we did not want to cram everything in a small space.)
- Sparkfun MegaShield (This was chosen because the large prototyping space was useful in acting as the breadboard.)
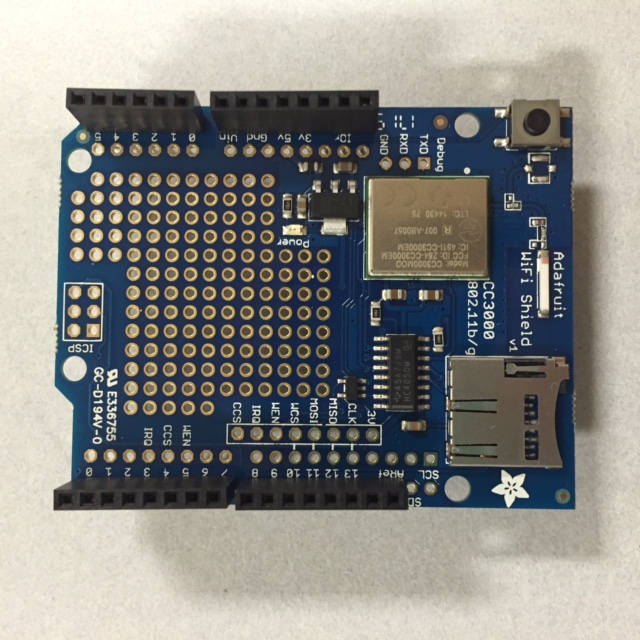
- Adafruit CC3000 Wifi Shield or Sparkfun Electric Imp Shield – We chose the CC3000 (This is the medium in which our data would be transmitted to an online source such as Carriots.com. The Wifi shield is not a necessary if you would like to stream data.)
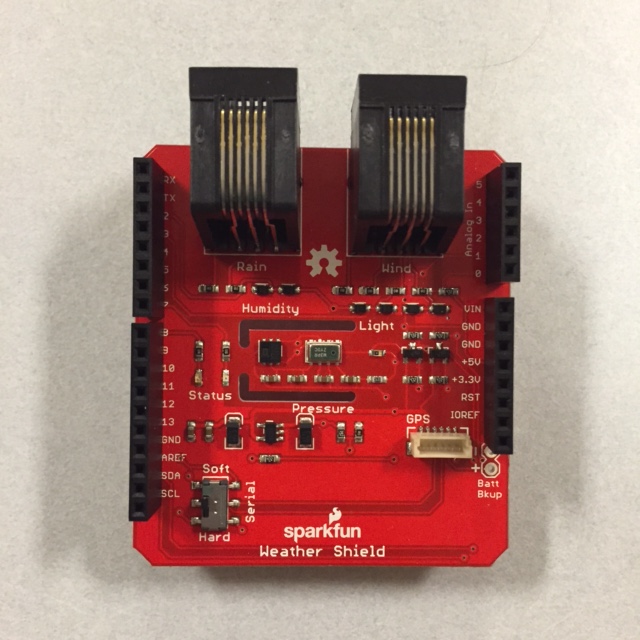
- Sparkfun Weather Shield (This is the device that gathers the data collected with the Sparkfun Weather Meters. It’s necessary only if you would like to collect weather data to be streamed.)
– Other Components
- Low-Flow Solenoid Valve Assembly (Refer to the blog post about the irrigation assembly for the exact pieces. The Solenoid Valve that we have is rated at 24 VAC. A standard DC power adapter works well with this.)
- 12 V DC Power Adapter (Preferably something rugged enough to be outside) (NOTE: Most boards are rated for a 12 or 15 V maximum input. Check your board specs for the maximum allowed voltage to be plugged into the power jack, or else the board will fry! If a higher voltage is used, it must be isolated to the motor circuit only on breadboard. Do not connect the 5V power strip to the motor circuit whatsoever.)
- Sparkfun Soil Moisture Sensor
- Sparkfun Weather Meters
- USB Connector Cable
- TIP31C Transistor (Other high current transistor should work)
- Sparkfun Rectifier Diode
- 330 Ohm Resistor
- Three-port screw terminals
- Header Pins (should come with boards)
- Solid Core Wires
-Recommended Materials
- Soldering Gun + Solder
Here are the instructions to set-up this entire assembly, according to each board/shield.
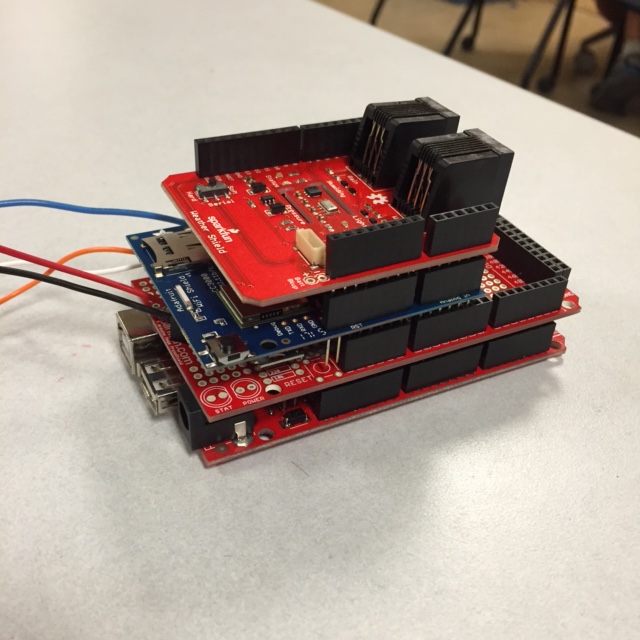
-Sparkfun MegaShield
- This is where all the circuitry lies.
- Here is a wiring diagram of the solenoid circuit with the soil sensor:
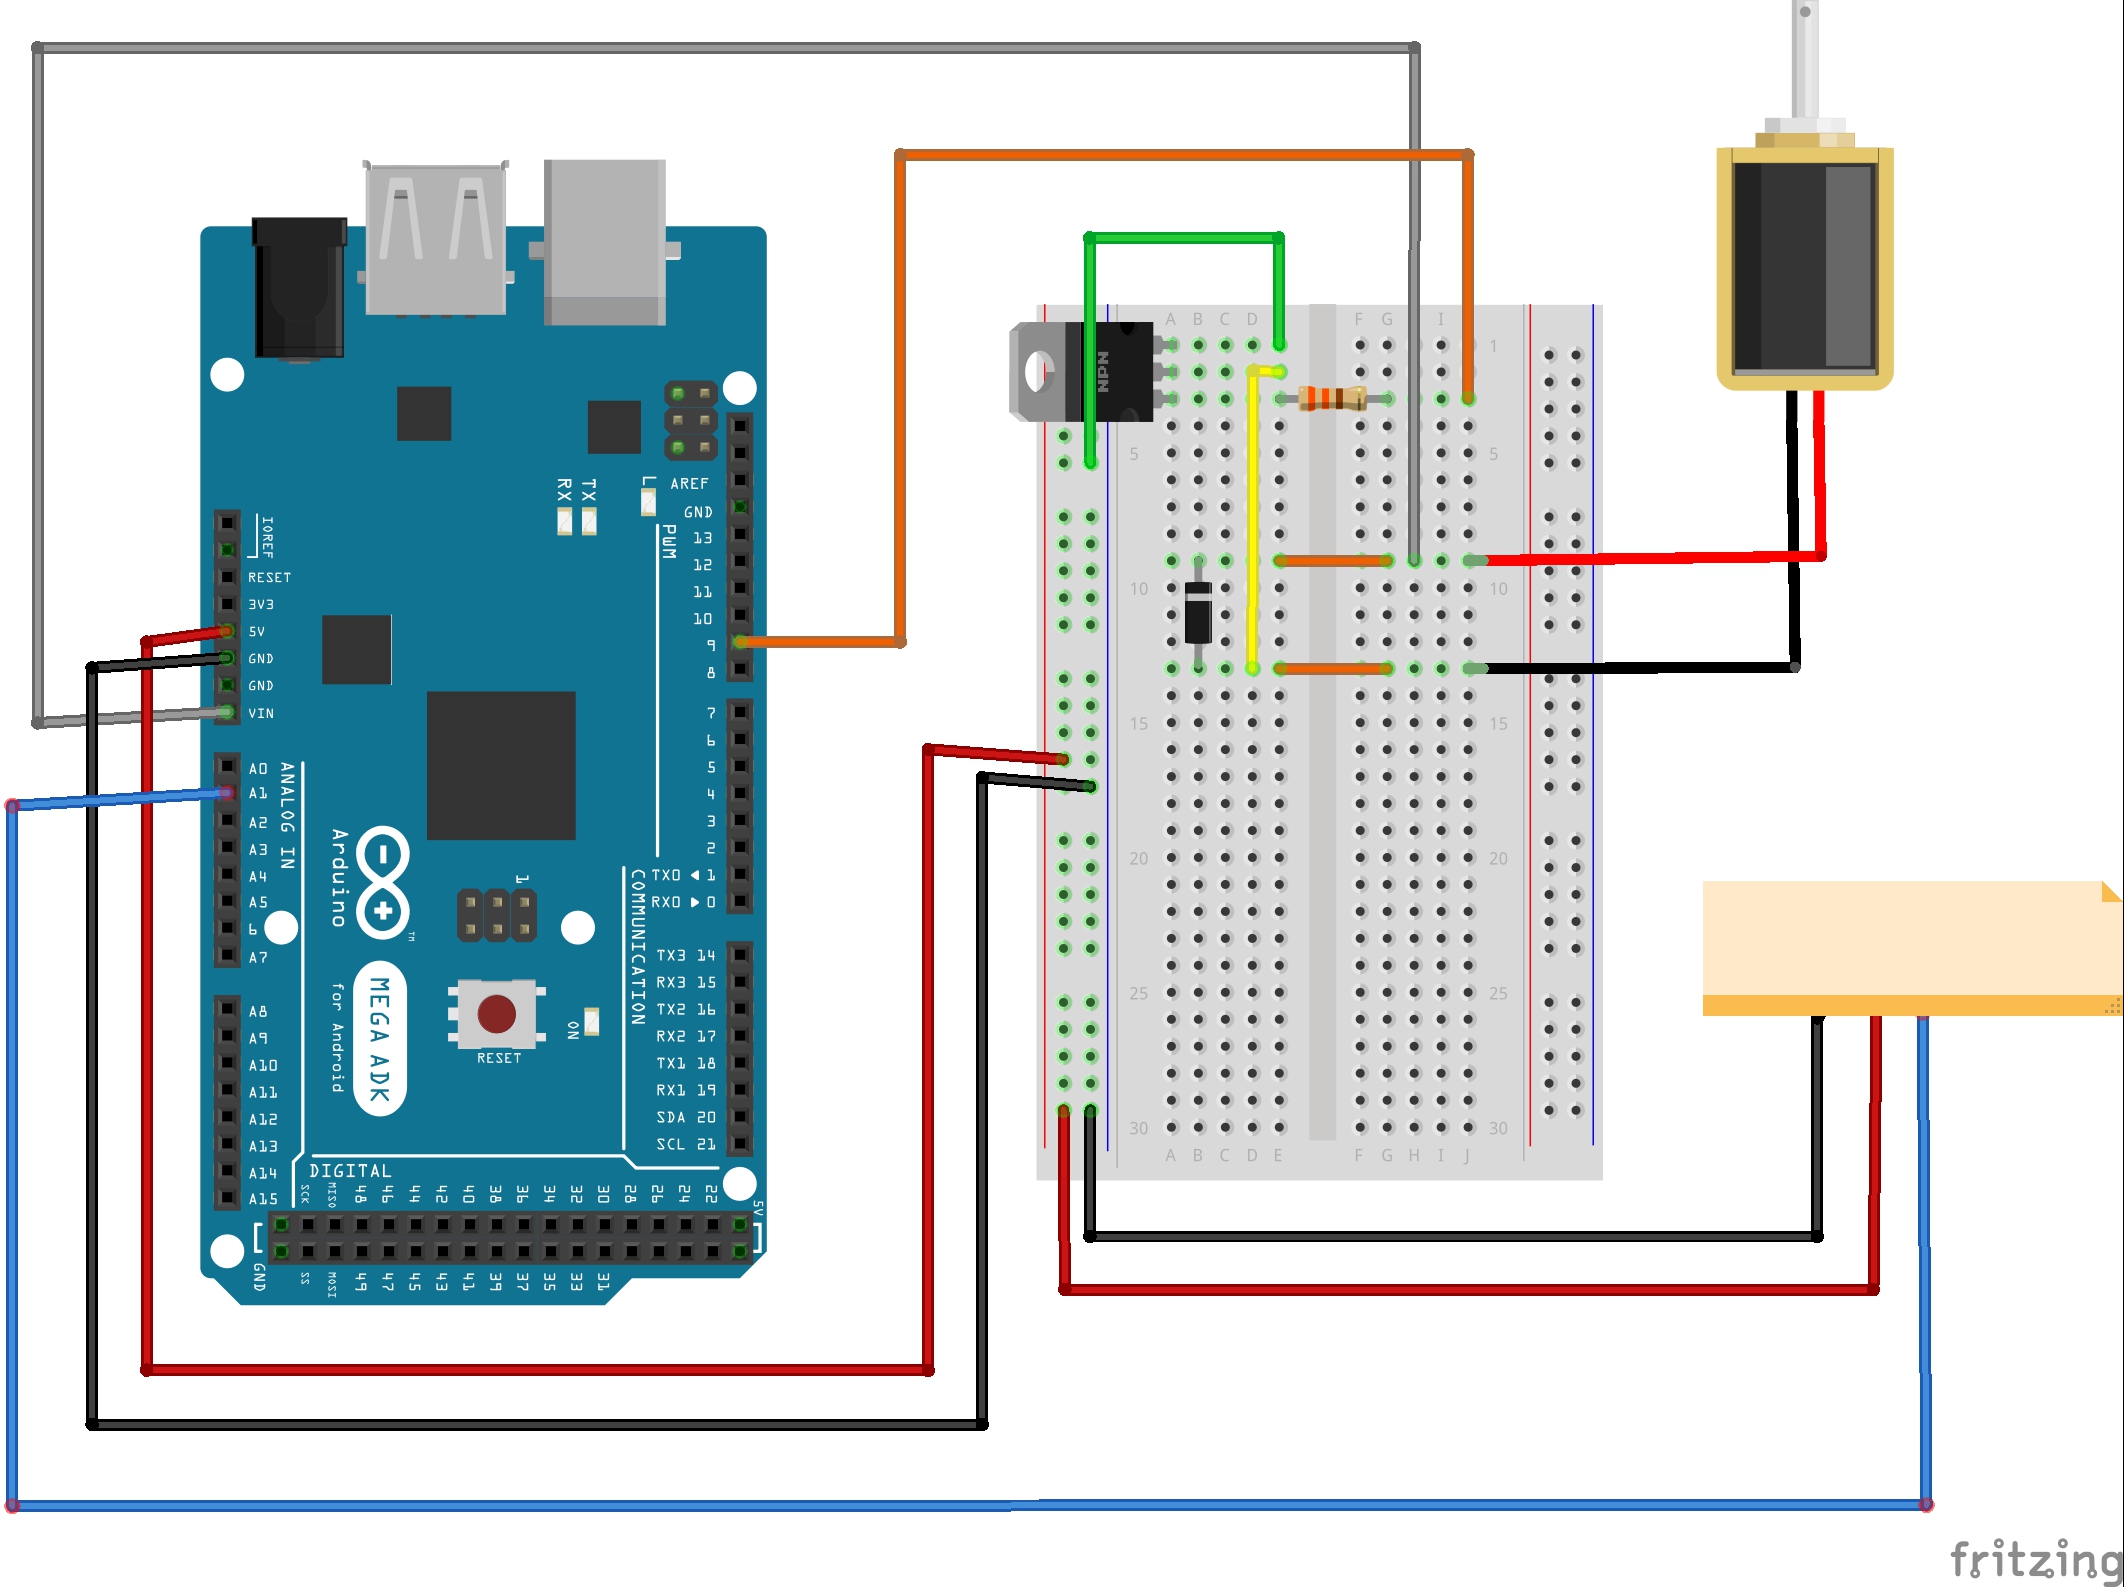
The little orange box above is the soil sensor.
This diagram displays all the crucial connections. This can absolutely change depending on breadboard size and shape and available space. For more soil sensors, use the next analog inputs as well as power and ground buses on the breadboard.
- With that being said, here are pictures of our prototyping shield, topside and underside, respectively. Before the components are soldered onto the board, the first thing that should be done would be to solder header pins onto the holes around the board, enabling the board to be stacked onto the main Mega board.
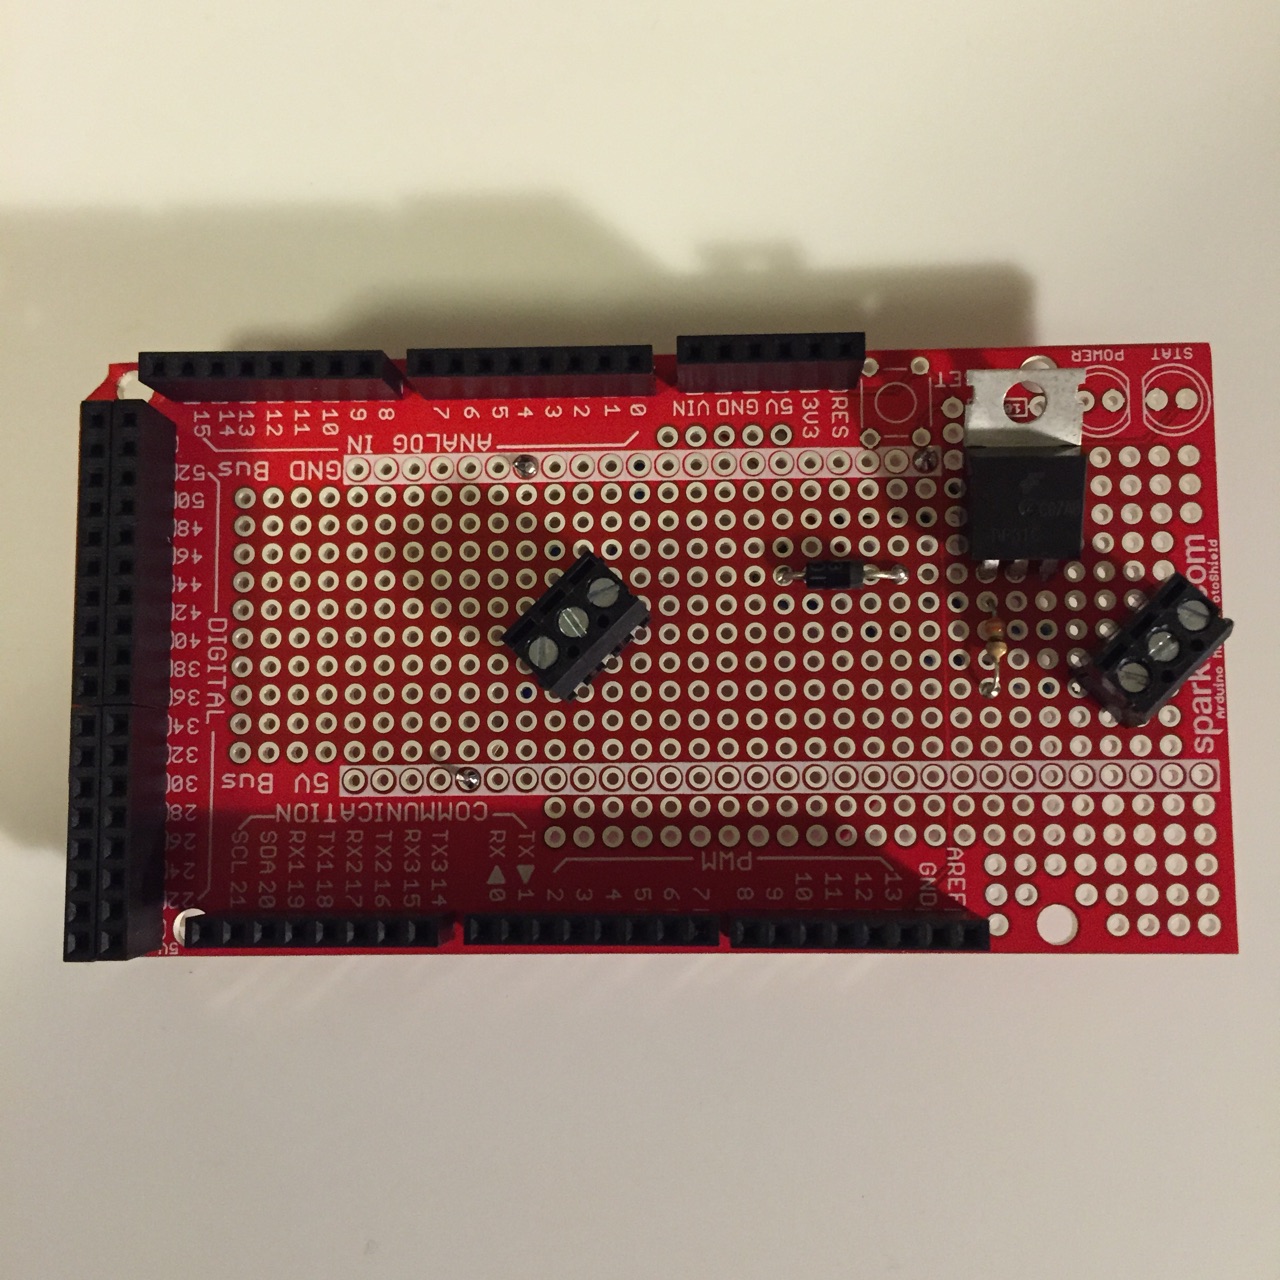
In the above photo, the screw terminal on the left is for the soil moisture sensor. From left to right the ports go: VCC, Ground, and Signal. The screw terminal on the right is for the solenoid valve. Use two slots for the wires and just let the third slot be empty. For the solenoid valve and the soil sensor(s), solder on wires to suit your need. Click here for getting started with the soil moisture sensor! This is a fantastic resource with links to other tutorials!
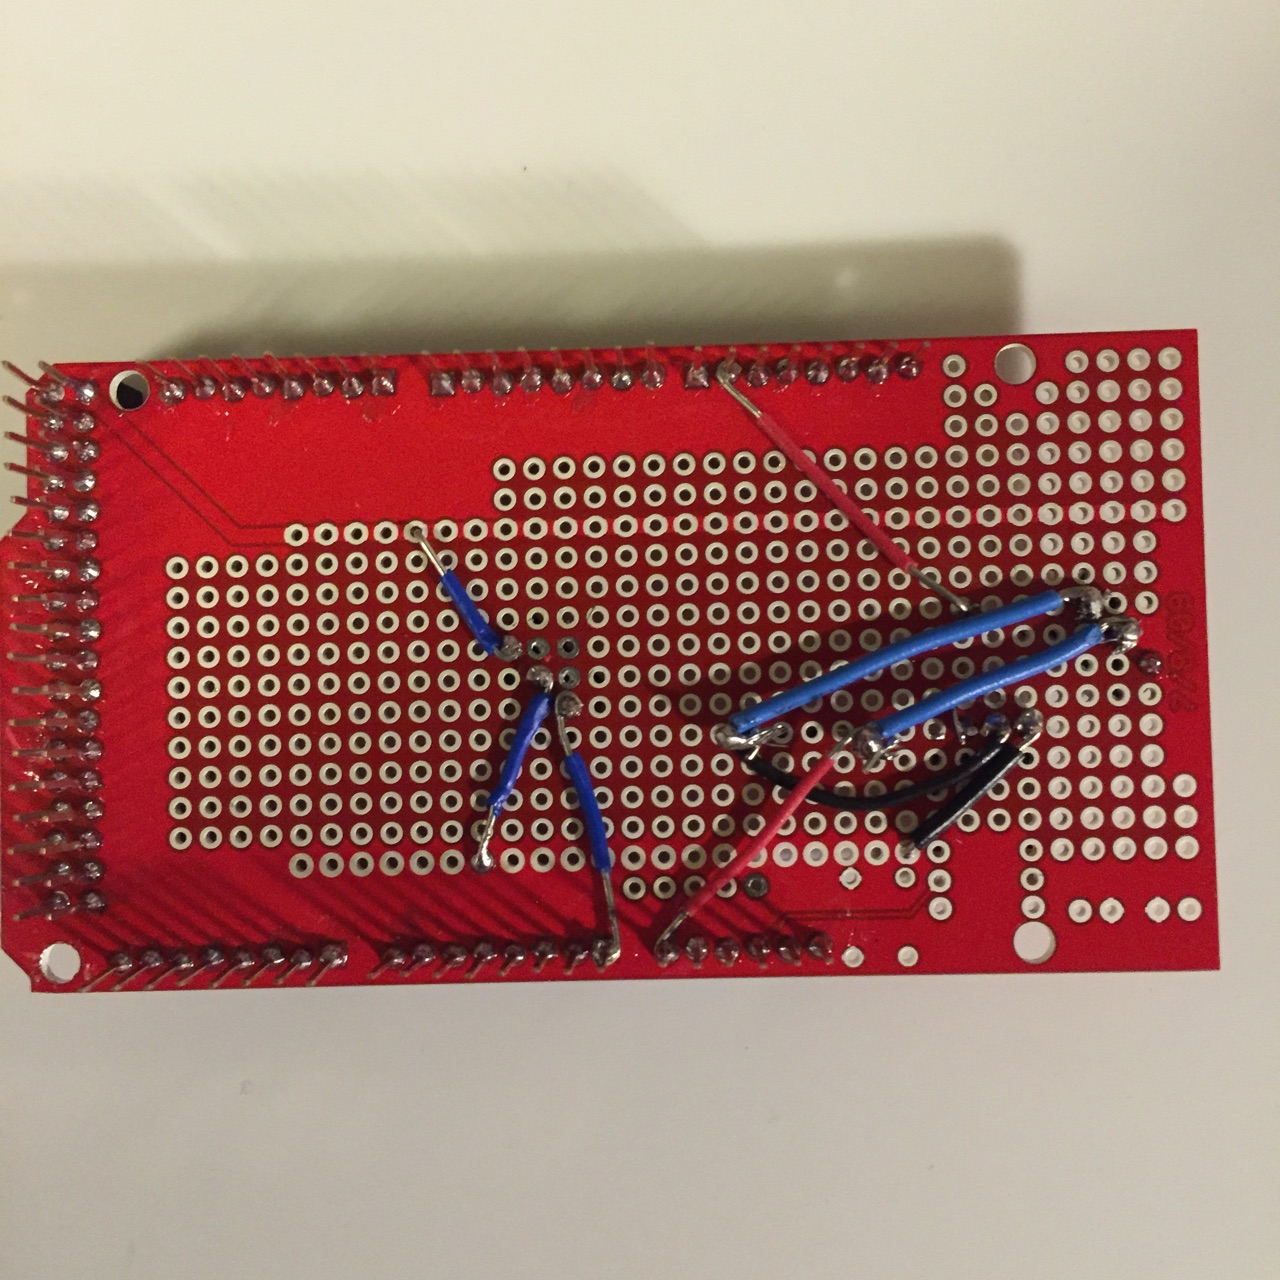
It is helpful to make a tiny hook in the wire when attaching it to a hole or pin in preparation to solder.
-Wifi Shield (Click here for Adafruit’s tutorial.)
- Refer to “Wifi” blog post about setting up the wifi.
- Wifi shield stacks right on top of the MegaShield. Match up pin locations and stack onto corresponding postion.
- This produced much difficulty setting up, and therefore we are still in the process of getting this up and running with our live data. I would recommend reading this post in detail. Check back for future updates.
-Weather Shield (Click here for Sparkfun’s tutorial on how to create a personal weather station using this weather shield and Sparkfun Electric Imp Shield instead of the CC3000.
- Refer to “Choosing a Weather Station” post about setting this up.
- This shield is connected in the same way as the others, in that it is to be stacked right on top, connecting the corresponding pin locations.
- This is also in the process of being set up. It is not difficult to get up and running, but it is interconnected with the wifi board and so it is still a work in progress. Check back for future updates.
Code!
- Here is the code to test the solenoid valve alternating between on and off (taken from Sparkfun Inventor’s Kit example guide code).
const int motorPin = 9; //this is the solenoid pin
void setup()
{
pinMode(motorPin, OUTPUT)
Serial.begin(9600);
}
void loop()
{
motorOnThenOff();
}
// This function turns the motor on and off like the blinking LED.
void motorOnThenOff()
{
int onTime = 3000; // milliseconds to turn the motor on
int offTime = 3000; // milliseconds to turn the motor off
digitalWrite(motorPin, HIGH); // turn the motor on (full speed)
delay(onTime); // delay for onTime milliseconds
Serial.println(“motor on”);
digitalWrite(motorPin, LOW); // turn the motor off
delay(offTime); // delay for offTime milliseconds
Serial.println(“motor off”);
}
- Here is the code to run the solenoid valve with input from the soil sensor (taken from the online open-source community).
const int motorPin = 9;
int thresholdUpper = 850;
int thresholdLower = 650;
//this threshold was calibrated based on subjective testing of soil moisture level using the soil moisture sensor
int sensorPin1 = A1;
//if more sensors are used, create more variables such as “int sensorPin2 = A2” , “sensorPin3 = A3” , etc.
void setup() {
pinMode(motorPin, OUTPUT);
Serial.begin(9600);
Serial.println(“Booting up..”);
}
void loop() {
String DisplayWords;
int sensorValue1;
//follow the same trend as above for more sensors. Add more variables changing the number such as “int sensorValue2” and “int sensorValue3”, etc.
sensorValue1 = analogRead(sensorPin1);
//follow the same trend as above for more sensors. Use variable definitions such as “sensorValue2 = analogRead(sensorPin2)” and so on
//If more sensors are used, you will want to specify when you want to irrigation to turn on. Either create an average value variable or modify the if statement to an “and” or “or” statement. For information on Arduino syntax, click here.
if (sensorValue1 <= thresholdLower) {
DisplayWords = “Dry, Opening Valve”;
Serial.println(DisplayWords);
digitalWrite(motorPin, HIGH);
} else if (sensorValue1 >= thresholdUpper) {
DisplayWords = “Wet, Closing Valve”;
Serial.println(DisplayWords);
digitalWrite(motorPin, LOW);
} else {
Serial.println(DisplayWords);
}
delay(500);
}
The links above lead to pages where hookup guides, troubleshooting information, and other project ideas can be found.
For further questions, leave a comment below.
