
A PDF document is a common way for faculty to share content with their students. It is often requested by faculty as a way for students to submit assignments. In some cases it may be the only acceptable format to be used. So how do you know whether your PDF documents are accessible? If some of your PDF’s are scanned documents from articles, book chapters, etc., they may just be an image. These images are usually not accessible.
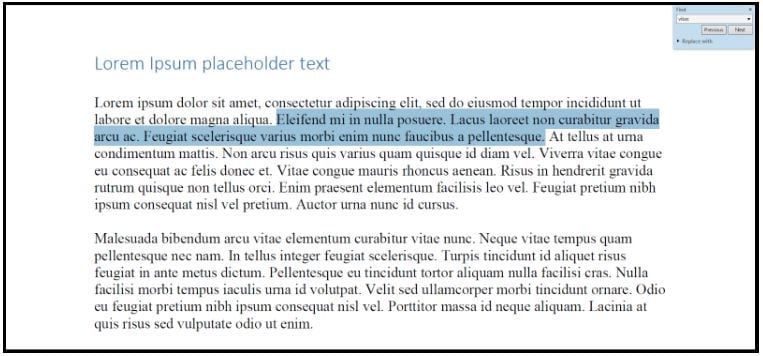
Is there a quick way to check? The most common way to check your PDF document for whether it is accessible is to see if you can either highlight and select text on the document or to try and find a word or phrase in the document. If clicking a piece of text instead highlights the entire page, that page is inaccessible.
Note the difference in the two PDF documents below.

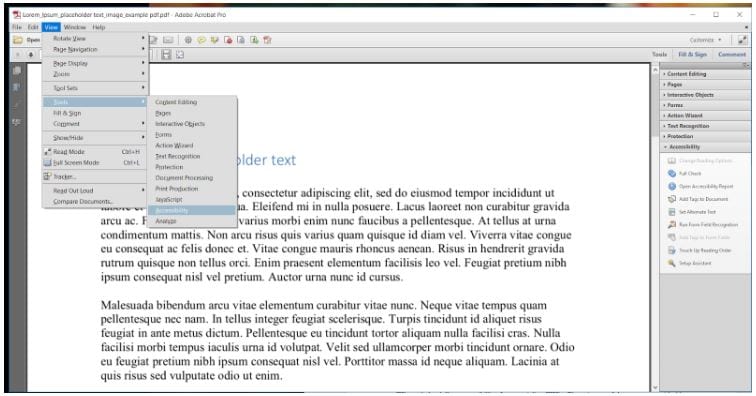
If you know you have inaccessible PDFs that you want to be accessible, there are tools within Adobe Acrobat Pro that can step you through checking your document, and helping you to fix any issues that exist. If you use the full checker, an accessibility report will be created for you.
If you are creating new content, Adobe can also help you make sure your PDF is accessible. If you usually create content in Word, make sure you first use the Word Accessibility Checker to verify your document. Then save it as a PDF.
Note: Anyone saving a file as a pdf should check to see if the option, Enable Accessibility and Reflow with Adobe PDF, is checked.
At the University, faculty and staff are able to use Adobe Acrobat Pro, which is available on UDeploy. Adobe Acrobat provides tools that allow users to create accessible PDFs and check the accessibility of your existing PDFs. There is a useful resource provided by Adobe that you should review: Create and verify PDF accessibility (Acrobat Pro).
Another useful resource can be found at the WebAIM (Web Accessibility in Mind website for Converting Documents to PDF.