
You can use the Document Camera in central classrooms as a secondary camera in Zoom. This allows you to use the document camera like you normally would in the classroom but also have it integrated into Zoom for remote participants.
Important! In the past, you may have connected the document camera directly to the projection system. If you plan to use Zoom and want to use the document camera, do not connect the document camera to the projector. Instead, you’ll be connecting the document camera to your laptop. Follow the steps below.
Watch a video of these steps
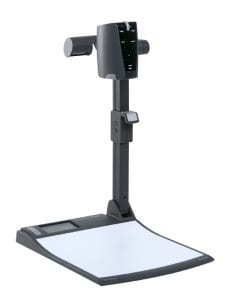
Connect the Document Camera to your Computer
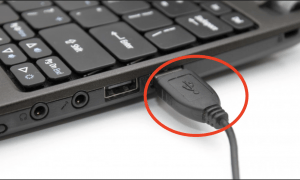
1. Locate the USB cable for the document camera and plug it directly into your computer.
If you do not have a type USB-A port on your computer, you may need an adapter.
.
2. Make sure the document camera is powered on. If needed, turn on the light to better illuminate the work surface.
3. Launch Zoom on your computer and begin your meeting as you normally would.
4. There are two ways to share the document camera during your Zoom meeting.
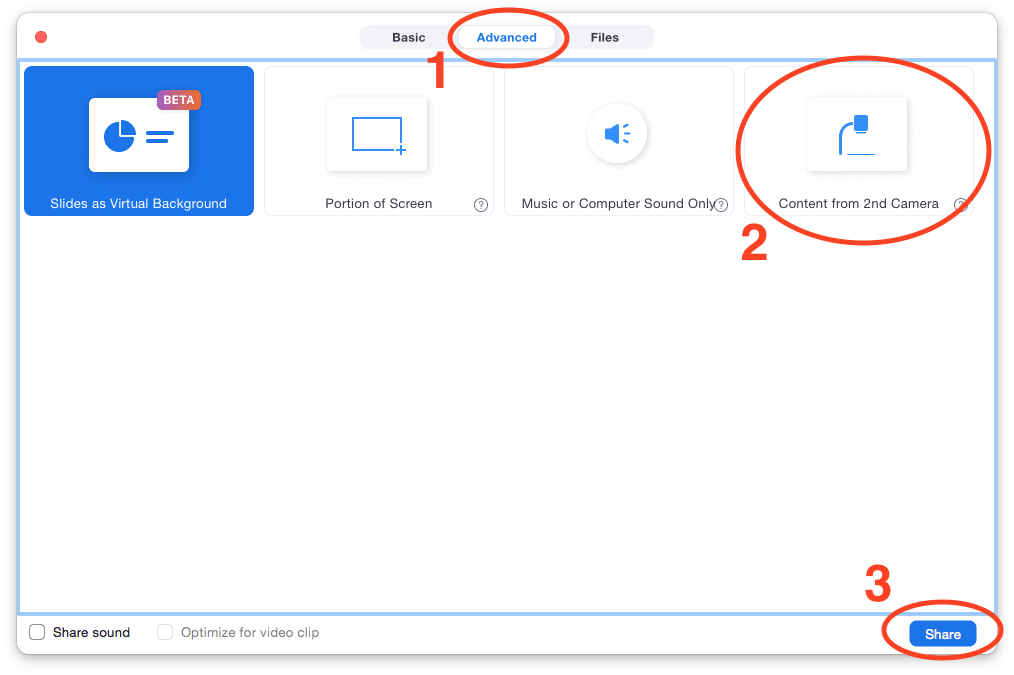
Method 1 (preferred): Simultaneously share your webcam and the document camera (Mac/PC/Linux only).
This method can help increase instructor presence for remote students by providing video of you in addition to the content from the document camera. First, click the Share Screen button. Select the Advanced tab at the top of the new window. Select Content from 2nd Camera and click the Share button at the bottom right.
If the document camera is not showing, click the Switch Camera icon in the upper left. To stop sharing the document camera, click the Stop Share button at the top of the screen.
Method 2: Share only the document camera.
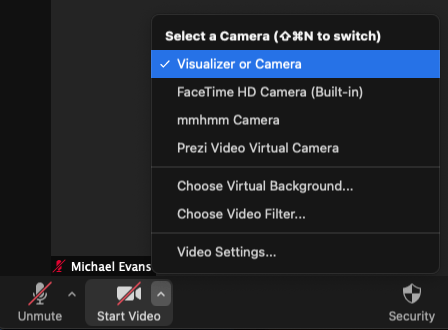
You may wish to show only the document camera or use it to show video from the room. To show the document camera as your video, first click the small arrow next to the Start/Stop Video icon and choose Visualizer or Camera from the list. To switch back to your built-in web camera, repeat the process and choose your webcam from the list.
Note: The document camera image may be reversed in Zoom when using it as the main camera source. Click the Video Settings option and change the Mirroring setting.
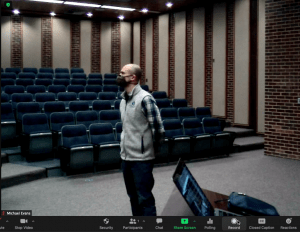
In addition to showing documents, the document camera can also be tilted up to show the instructor by rotating the camera head. You may find lighting conditions in classrooms to be uneven and have mixed results so it’s important to try this ahead of time.
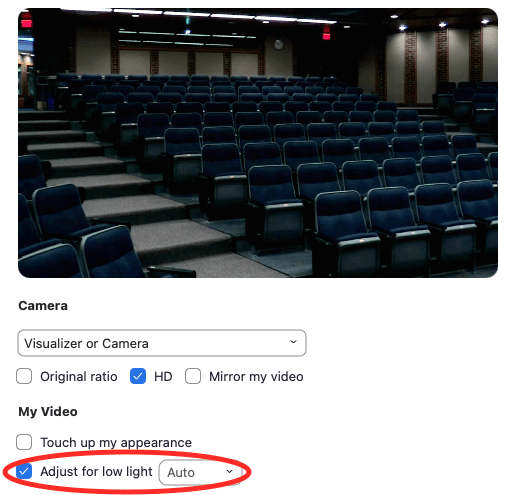
Zoom has the limited ability to adjust the camera image for low light to brighten the image. To do so, click the small arrow next to the Start/Stop Video icon and choose Video Settings. Check the box next to Adjust for low light.
To make the image from the document camera as large as possible, be sure to Spotlight the video by mousing over your video window, clicking the three dots icon in the upper right, and selecting Spotlight.
5. Connect your computer to the projection system. As you switch between sharing your screen or the document camera, the visuals you show on the laptop through Zoom for remote participants will also be projected for in class participants.